 Want your business to appear higher in search results and make more sales?
You need a Yelp account.
We’re not going to wax philosophical about whether or not Yelp is good or bad. The reality is simple: no matter what your opinion about Yelp is, it’s where a lot of people go to check reviews. When your business has bad reviews on Yelp, people aren’t going to visit you.
In fact, they might not even visit your website. Yelp links to your homepage, and getting that traffic leads to better rankings on search engine results pages (SERPs). More traffic also means more people in your sales funnel, and we all know that conversion is a numbers game.
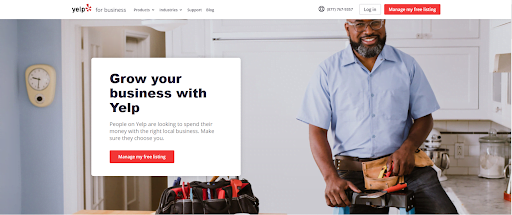
So, without further ado, we’re going to teach you how to set up, claim, and optimize your Yelp account – with pictures! We’ve designed this guide to be as easy to follow as possible, but don’t hesitate to contact us if you’ve got any questions at all.
Step 1: Find your business
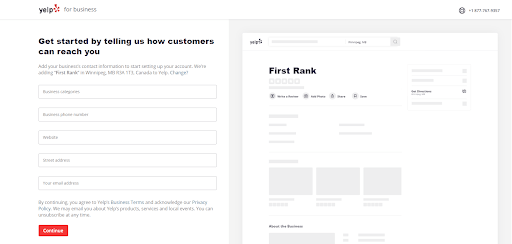
Go to biz.yelp.com. You’ll be greeted with the following screen. If you’re greeted with a different screen, go to Step 1.5.
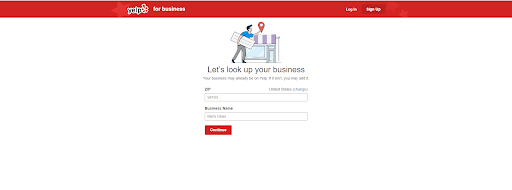
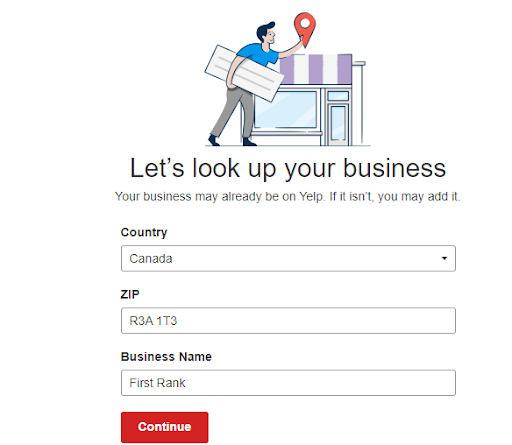
Note that this screen defaults to the United States. If your business is in a different country, you’ll have to change that before continuing:
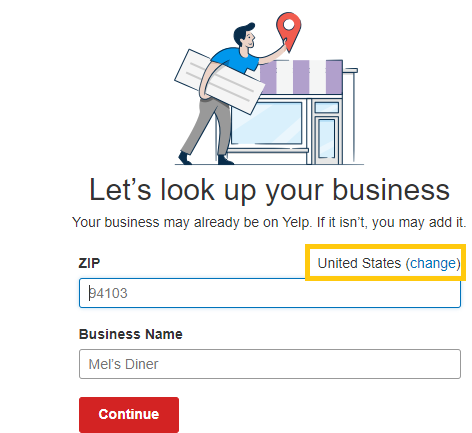
From here, simply input your business ZIP/Postal Code and name then click “Continue”.
You may find that your business is already on Yelp – in these cases, Yelp will auto-populate the business name field, and you’ll need to click on the business to claim it. You’ll get a screen that looks like this:

Simply click on your business to begin the claiming process.
Now it’s time for the “Choose Your Own Adventure” part of the process. If you need to add your business to Yelp, go to Step 2. For those who need to claim their business, go to Step 3.
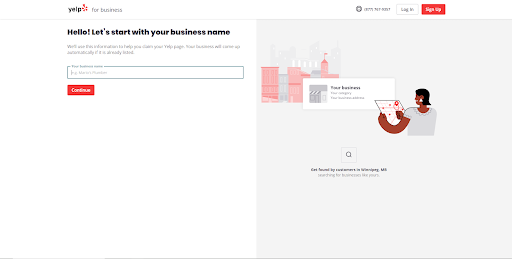
Step 1.5: An alternate way to find your business
Sometimes, using the above steps, you’ll end up on a page that looks a little bit different – this can happen when, for example, you’re in Incognito mode.
Click on “Manage my free listing”. You’ll end up here:
Start typing in your business name. If your business is already on Yelp, the field will auto-populate, like so:
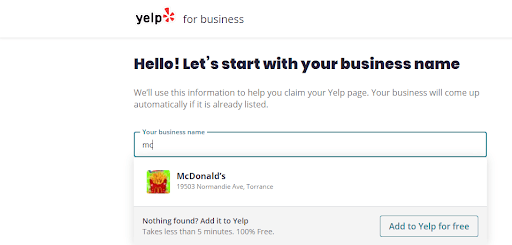
If you find your business is already listed, simply click on the listing to claim it. When your business isn’t listed, you’ll see the following:
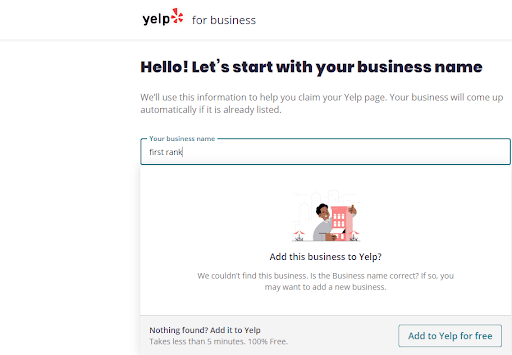
In this circumstance, you’ll simply click “Add to Yelp for free”.
Now it’s time for the “Choose Your Own Adventure” part of the process. If you need to add your business to Yelp, go to Step 2. For those who need to claim their business, go to Step 3.
Step 2: Setting up your Yelp account
You’ll be greeted by a screen that looks like the following (though, hopefully, not with the name First Rank):
Simply fill in the categories and click “Continue”. Note that in the “Business categories” section, you can put in more than one category – for our page, Marketing and Web Design are both appropriate. You can always add more categories later – just don’t overdo it!
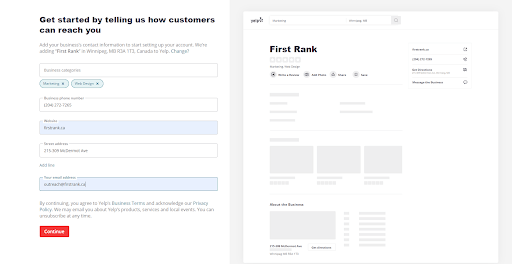
- Note that the preview page on the right hand side gets populated with your information automatically – pretty neat!
From here, you’ll be asked to create a business account. Pretty straightforward – simply fill in the information:
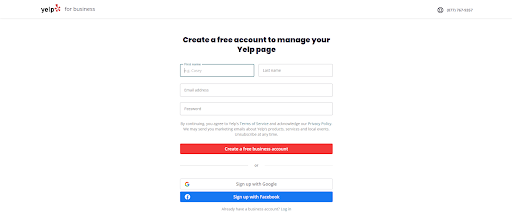
- Note that you can sign up using Google or Facebook to make logins easier – if you do this, be sure to keep track of who has access to those accounts. We’re assuming you don’t already have a business account, but if you do, you can log in!
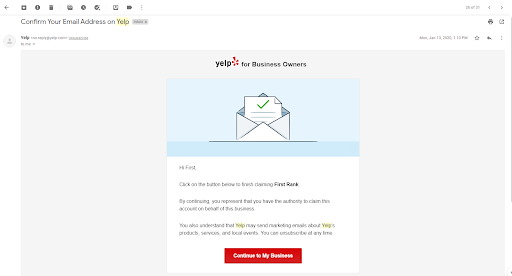
From here, Yelp will send you an email confirmation. Check your inbox. The page should look like this:

Step 3: Claiming your business on Yelp
When you click the listing, you’ll be greeted with the following page:

Pretty straightforward: simply create your business account (or sign up using Google or Facebook). From there, you’ll get a confirmation email. It should look something like this:
Now you can go to Step 4: Completing your Yelp profile!
Step 4: Completing your Yelp profile
Once you’ve confirmed your email, you should (within moments or days) receive an email like this from Yelp:

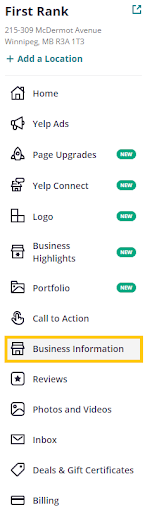
Click on that “Update My Page” button, and update the information accordingly. You’ll also be able to update all of this information in the Business Information tab of the Yelp profile for your business:
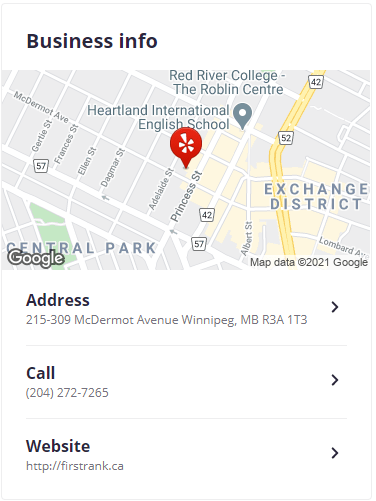
You can edit your phone number, website URL, and address on the right-hand side (simply click the appropriate category):
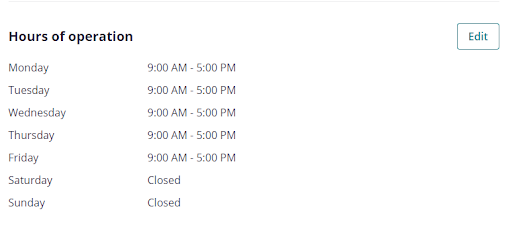
Scroll down, and you’ll be able to edit your hours of operation:
There’s a lot more you can do with your Yelp profile. You’ll want to add images, as well as add services to the categories you’ve chosen for your business.
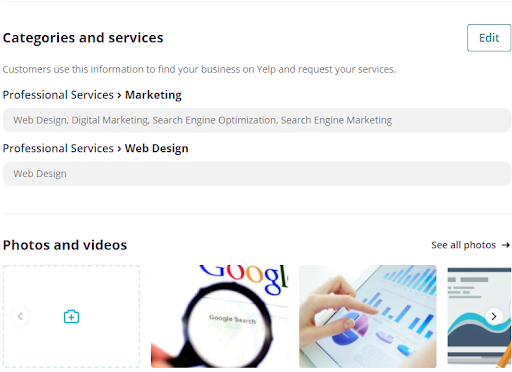
There are all kinds of other fields you can fill. You should complete all relevant fields.
Commit to checking your Yelp profile on a regular basis – at least once a month – to ensure that all of your information is up to date.
Respond to your Yelp reviews – most companies will want to check their reviews at least once a week. Automate this process with review management software if you can.
Congratulations – you’ve completed your Yelp profile! You now have a much greater degree of control over what Yelp users will see when they interact with your company on the Yelp platform.
firstrank.ca